
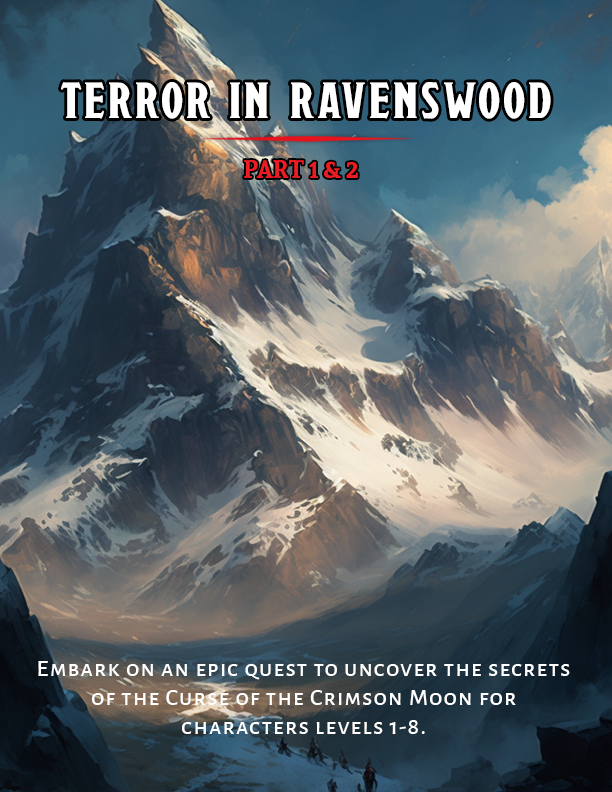
Embark on an epic quest to uncover the secrets of the Curse of the Crimson Moon and banish the cursed ring forever.
Welcome to “Terror in Ravenswood – Part 2” 5E adventure! Within these pages, you’ll discover everything necessary to continue this thrilling quest, complete with detailed descriptions of locations, encounters, NPCs and stat blocks, maps, and handouts.
This adventure also features a versatile and scalable system, allowing Game Masters to easily adjust the difficulty and complexity of encounters to suit their players’ preferences and skill levels. Whether you have a party of advanced players or beginners, you can tailor the challenges to ensure an exciting and engaging experience for everyone involved. The scalable system guides modifying creature statistics, making it simple to customize the adventure to fit your party’s level.
In “Terror in Ravenswood – Part 2,” a party of 4-5 characters (levels 3-8) continues the story from Part 1, now burdened with the cursed Ring of the Crimson Moon. The players must seek out the druidess Morrigan, explore two dangerous temples filled with puzzles and creatures, perform a sealing ritual, and ascend the elemental trials of Mount Ignaxia to banish the ring through a portal to another realm. The adventure is divided into nine parts, with one optional sidequest.
Part 1: The Ring of the Crimson Moon
The players return to Ravenswood after defeating Grommok the Mighty. The village elder Othar warns them of the ring’s cursed nature and directs them to seek out Morrigan, a druidess living in the forest, who is an expert in magical artifacts.
Part 2: Ambush by Bandits
On the road to Morrigan’s home, the players traverse a dense forest and may encounter a group of lost travelers in need of help, leading to an optional sidequest.
Part 3: Meeting Morrigan
The players arrive at Morrigan’s cottage deep in the forest. She reveals the legend of Thalinar, the sorcerer who crafted the ring, and explains what is needed to destroy it: the Scroll of the Blood Moon, the Heart of the Earth crystal, a sealing ritual, and a journey to Mount Ignaxia’s portal.
Part 4: Finding the Scroll of the Blood Moon
The players embark on a three-day journey to the Temple of the Blood Moon, a puzzle-heavy dungeon featuring six rooms with celestial-themed challenges, including lunar phase puzzles, pressure plate mechanisms, a mimic encounter, riddle-inscribed obelisks, and the coveted Scroll of the Blood Moon.
Part 5: The Heart of the Earth Crystal
The players travel to the Pyramid of the Shadow Serpent, a three-level temple filled with dangerous creatures such as giant centipedes, swarms of poisonous snakes, a spectral serpent, lizardfolk, a Lizard Skeleton King, and the final boss: the Shadow Serpent guarding the Heart of the Earth crystal.
Part 6: The Sealing Ritual
Returning to Morrigan with the scroll and crystal, the players witness a powerful ritual that seals the Ring of the Crimson Moon within the Heart of the Earth crystal. The spirit of Thalinar manifests briefly before being drawn into the crystal.
Parts 7-8: Mount Ignaxia and The Final Battle
The players undertake a seven-day journey to Mount Ignaxia, a massive elemental dungeon spanning five themed levels: Earth, Fire, Water, and Air, each with unique environmental hazards, puzzles, and elemental guardians. In the final chamber, the players face an illusory battle against Thalinar himself.
Part 9: Banishing the Ring
After overcoming Thalinar’s illusion, the players complete their quest by casting the crystal through the portal, destroying the ring’s power forever and returning to Ravenswood as celebrated heroes.
Sidequest: Lost in the Woods
An optional sidequest where the players rescue lost travelers and track down a bandit leader named Zephyr who has kidnapped two of their companions, featuring a three-room bandit hideout dungeon.
Release Date: 2023
Format: Digital (PDF)
Items Included
- Terror in Ravenswood – Part 2 5E (PDF)
- A B&W Printer-Friendly Version (PDF)
- Maps
- Illustrations (Generated with Midjourney)
- Monster Stat Blocks
Leave a Reply